Learning how to mix your own Hip Hop song or instrumental is crucial in today’s DIY music world. Yet, many aspiring beat makers and music artists struggle with this process in their early days. Trust me, I’ve been there. The good news is I’ve compiled ten fundamental mixing tips that I’ve learned during my 10+ years of producing music that have helped me to tremendously improve my mixes, and I want to pass them along to you 🙂
NOTE: This is not meant to be a comprehensive mixing tips list, however all of these tips outlined have been foundational for me improving my mix over the years. Some of these points are focused specifically on mixing your beat or instrumental, but they can all be applied to your vocal or song mixes as well.
10 Mixing Tips for Hip Hop Beats / Music
1. Quality Sounds
In order to set yourself up for a great mix from the jump, you must start with a selection of good quality sounds. Your various instruments, drum sounds, samples, vocal recordings – they need to be top-notch. With some exceptions, many stock sounds that come packaged with your DAW or other music software for free typically aren’t of the highest quality standard. And that’s why highly recommend investing into building up your personal sound library.
Don’t get me wrong, there are some great free sounds and plugins available online. You just have to be careful. You may want to check out some various music forums and reviews online first before downloading every free sound pack on the web. I’ve also compiled a list of my top five go-to vsts that I personally use that you might consider checking out.
2. Quality Studio Monitors
The purpose of a good studio monitor is to give you a “true” representation of what your mix actually sounds like. In other words, your monitors should project a “flat” or natural sound, meaning there is no additional enhancements, EQ, etc – to improve the listening quality.
This is important because you want your music to sound good on ALL systems and devices it will be played on – including a computer, mobile device, car system, club or bar, home stereo and the list goes on.
There are a myriad of quality studio monitors on the market at a varying range of prices, so I’d definitely recommend doing your own research to figure out what will work best for you and your specific budget.
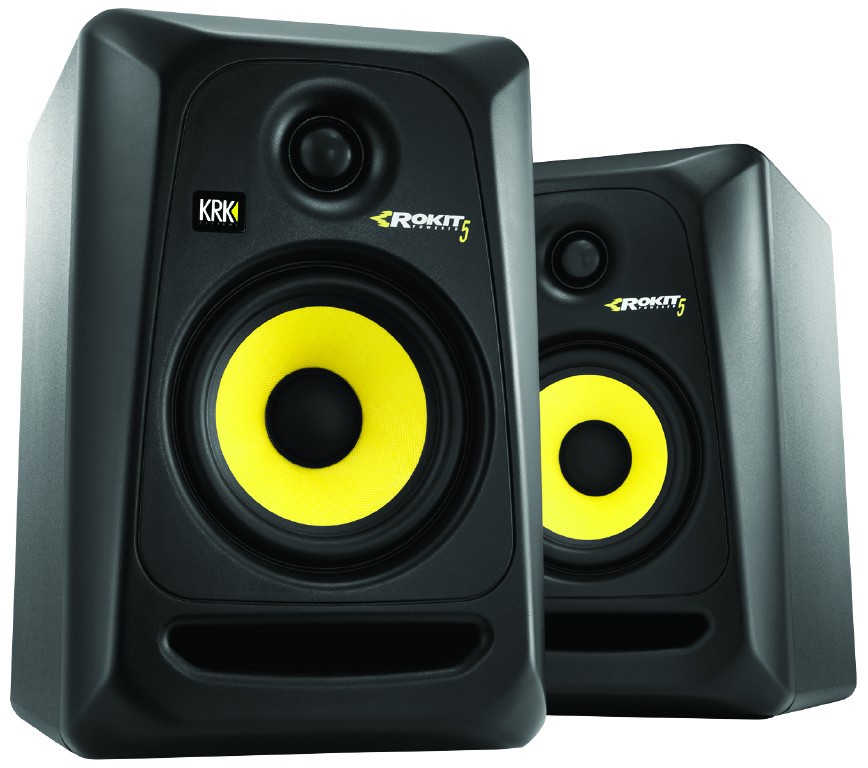
I personally use the KRK Rokit 5 studio monitors, and while they aren’t ideal for my home studio, I’ve trained my ear to use them in my particular environment over the years. I say that they aren’t ideal because they are a somewhat smaller monitor and don’t pick up some of the really low sub-bass frequencies like a larger speaker could.
In any case, you’ll want a studio monitor that will give you a “as close to true” representation of your mix as possible.
3. Multiple References
Even though you may do your primary mixing on your studio monitors, one strategy that many folks use is to also reference that same mix on other devices as well – including headphones, on a laptop, or in a vehicle stereo system. This will give you other perspectives on your mix and how it will sound before you finalize it.
This will also be very helpful if you don’t have a perfect studio setup – with proper acoustic treatment, high-end monitors, etc.
I’ve been using the Sennheiser HD-280 PRO as my reference headphones for many years now, and I have to say they are an excellent purchase for the price point. I actually bought two pair 🙂
Ultimately, you’ll want a fairly consistent representation of your mix across all the devices you play your track back on.

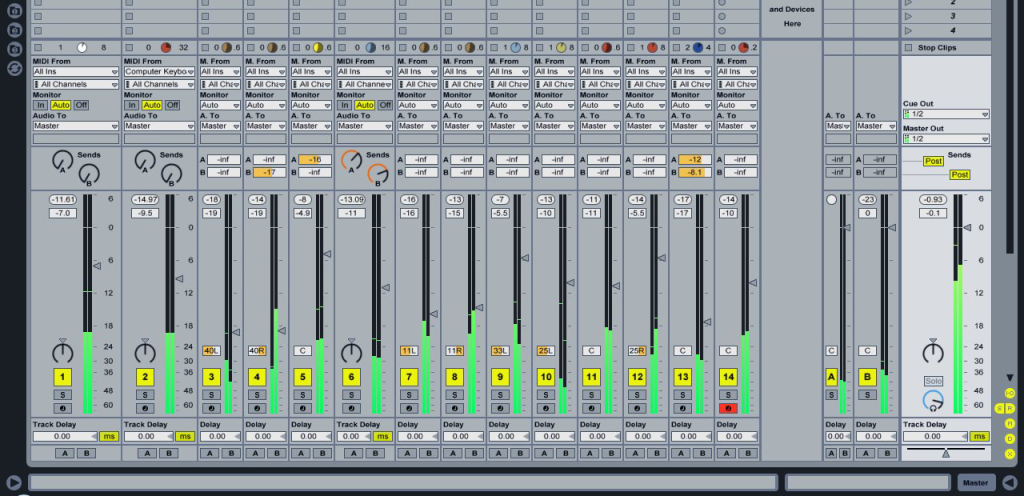
4. Proper Gain Staging
Gain staging is a simple, yet very important aspect of your mix. In a nutshell, this process consists of leveling your individual tracks relative to each other – ensuring there isn’t any clipping or unwanted distortion, and that you have enough head room on your master bus prior to any advanced mixing processes and your final master and compression.
I’d recommend checking out this video for a quick 5-minute explanation of this process.
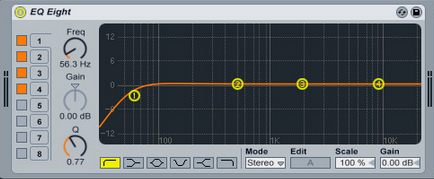
5. EQ (hpf)
A simple EQ, and in many cases just a HPF (high-pass filter), can really take your mixes a long way. When I first started making beats, I was pretty oblivious to the idea of filtering and EQing my sounds – even if I had only used it to remove the excess bass and mid range of particular sounds in my beats.
The more sounds you introduce into your music, the more imperative it becomes to contain certain sounds to fixed frequency ranges. If you’re consistently lacking clarity in your mixes and can’t seem to get rid of the “mud” in your mid range, it could be as simple as rolling off some of the non-essential mids and lows.
6. Avoid Ear Fatigue
Sometimes you’ve just got to give your ears a break. Especially when you’re working on a mix for any extended length of time, your ears may get tired and you may not be hearing your mixes as you think you are.
I personally tend to get ear fatigue rather quickly, and so in many cases I’ll work on mixing my beats in short intervals. Maybe only 15-20 minutes at a time – let my ears rest for a short period, and come back with a fresh perspective to resume my mix.
The last thing you want is to force yourself to finalize your mix while you have ear fatigue, and realize later that the final version of the track wasn’t what you had intended.

7. Mix with Your Ears
Don’t get distracted by the visual representation of your track and rely on only what you’re seeing. The various meters and visual controls in your DAW and other plugins are there for a reason, and you definitely want to utilize them to assist your process.
However, you want to use your ears to help make most of your mixing decisions for you. Put those two things on the side of your head to work, because ultimately all that matters is how the music sounds, not what it looks like.

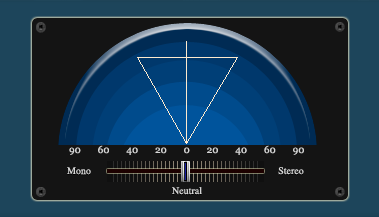
8. Panning
Panning certain elements in your music is going to open you up for many mixing improvements. You’ll be able to better take advantage of the stereo field and to turn out wider mixes, include more sounds into your track without it sounding overly cluttered, and also to help form a “pocket” for the artist or emcee’s vocal recordings.
9. Low-level Mixing
Mix at a low level interface / monitor volume starting out, and gradually increase the loudness as you progress along with your mix.
If you try mixing your music at a loud volume from the beginning, over time your ear drums will start to become somewhat defensive to the loud sound and it can effect the accuracy of how you’re hearing your mix.
You’re better off mixing at a soft volume first, then checking it again at a more moderate volume, and if everything sounds good, cranking it up to a louder volume.

10. Condition Your Ears
Last, but certainly not least of this top ten mixing tips list – condition your ears by listening to high-calibur, top-notch industry mixes on a regular basis.
This alone will inherently raise your standard for what a good mix should sound like, and that will directly translate into your own music. This in itself is pretty damn powerful!
Depending on the specific sound you’re striving to achieve (Underground Hip Hop, mainstream pop, R&B, etc) , you may have a preference on what music you’ll get the most benefit from listening to.
But the point is to listen to music that is much better than your own, and over time this will have a drastic impact on how well you mix your personal music.

*BONUS* Study Established Mixing Engineers
As a bonus, my last mixing tip is to study established mixing engineers. There are a lot of great interviews and tutorials online from super knowledgeable musicians, producers, engineers, mixers and more.
Here are a couple excellent resources that I recommend for countless mixing tips as well as invaluable interviews with various people from the music industry.
— LET’S CONNECT! —
I’m very reachable on the following: Official Website | YouTube | Facebook | Twitter | Soundcloud | Instagram
PLEASE LIKE, COMMENT & SHARE IF THIS VIDEO WAS HELPFUL
About the Author
Travis Cole has been operating TCustomz Productionz, LLC full-time since 2011 and hopes for it to serve as a source to help many music artists, producers and entrepreneurs worldwide achieve their dreams of success.
Comments (0)